Cover-Credits:
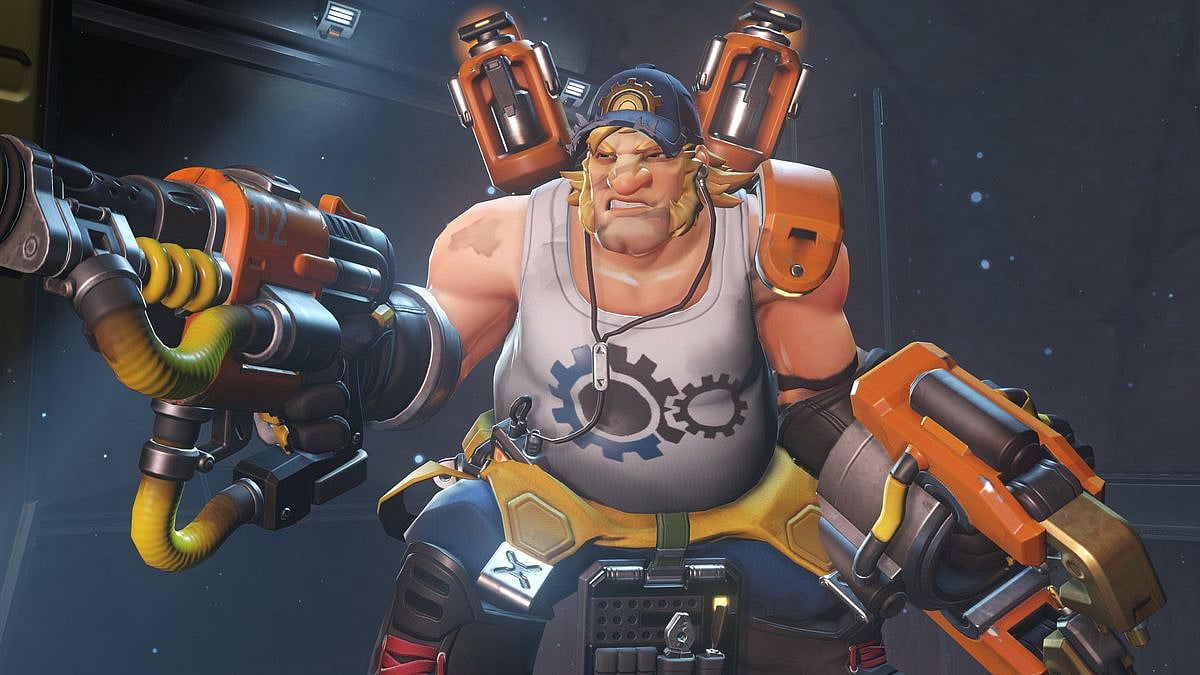
Overwatch 2 launched on 4th October and countless players were greeted with the Unexpected Server Error in Overwatch. The servers are currently affected by a DDoS (Direct Denial of Service) attack and Blizzard Entertainment is currently trying to resolve the issue. The issue is also present in World of Warcraft and Diablo, and the publisher is yet to offer an estimated time for when the issues will be addressed. Players have been able to bypass the error in some cases for Overwatch 2 and you could give the solutions a try while you wait.
Unexpected Server Error in Overwatch 2: How to Fix
Here’s how you can potentially bypass the problem until a fix is available:
Launch Overwatch
Let the queue run down to zero
Wait for the Unexpected Server Error to show up
Do not close the game. The queue should restart in a few seconds or you may need to log in once more.
If you do not exit the game and let it restart the queue, you will likely get in eventually.
This is a solution that is inconsistent but it has worked for me and a lot of other players. If it does not work, you can just wait for Blizzard CS on Twitter to confirm when the servers are fixed.
If you are facing the issue even after the servers are restored, you may have internet connectivity problems. Here are a couple of solutions that can help:
Flush your DNS
While on the desktop, press the Windows Key and type CMD.
Right-click Command Prompt and select Run as administrator.
Type ipconfig /release in the command prompt and press the Enter/Return key on your keyboard.
Wait a few seconds for a reply that the IP address has been released.
Type ipconfig /renew in the command prompt and press the Enter/Return key on your keyboard.
Wait a few seconds for a reply that the IP address has been re-established.
Type ipconfig /flushdns in the command prompt and press the Enter/Return key on your keyboard.
Close the command prompt and attempt to make a connection.
Update Network Drivers
Click Start (Windows Key + Q in Windows 8).
Click Control Panel. If there is an option to Switch to Classic View, do so.
Click System.
Click the Hardware tab, then click Device Manager.
Expand the Network Adapters category. Make a note of the network card name and model listed.
Double-click the network card listed.
Click the Driver tab and make note of the driver date and version.
Visit the driver manufacturer's website to obtain the most up-to-date driver. Contact the driver manufacturer for assistance with updating the driver. If the computer is under warranty, contact the computer manufacturer.
If none of the solutions work you should contact your internet service provider (ISP) or you can submit a ticket on the official Blizzard Customer Service website.
