Cover-Credits:
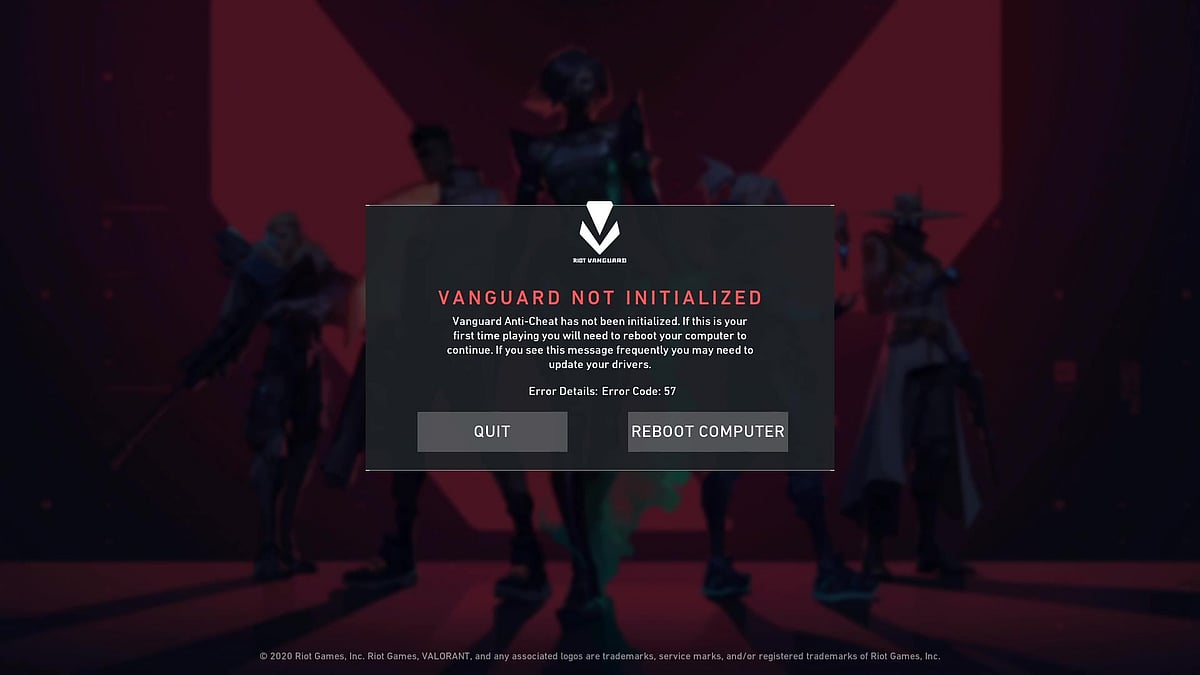
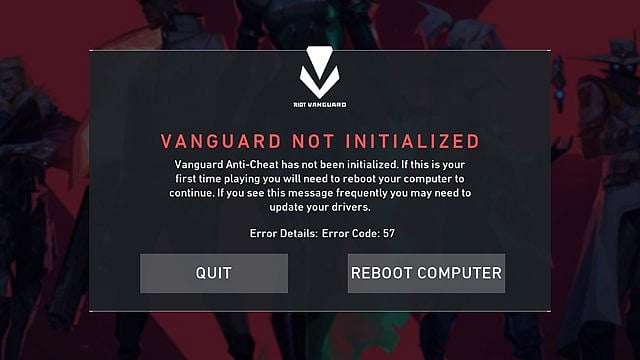
- Valorant's error code 57 is often caused by the anti-cheat failing to initialize when you start the game and can be easily fixed.
- If you manually disabled Riot Vanguard, you can restart the game and it should start automatically.
- In some cases, you might need to restart your computer for Vanguard to re-initiate on your computer.
Valorant Error Code 57 is one of the most annoying things you can run into if you are jumping in to play a few matches to unwind. The error code is tied to RIot Games' anti-cheat not being able to initialize. Here is everything you need to know about Valorant Error Code 57 and all the possible solutions to fix it. The issue can sometimes be caused due to servers being unavailable and what you should do before you try any of the solutions below is head to the official Riot Games Support Twitter handle if you get Valorant Error Code 57. If the servers are online, try one of the following solutions and you will be able to play the game in no time.
Why Causes Valorant Error Code 57

The error code is caused when the game’s anti-cheat is not initialized. If you have low RAM (4GB or less), your computer might close the anti-cheat that runs in the background to create space and trigger the error. Usually, a quick game restart or a system restart does the job. If none of the solutions works, consider reinstalling the game.
Valorant Error Code 57: How to Fix
Here are all the solutions that you need to try if you run into Valorant Error Code 57.
Solution 1: Restart Your Game
Try restarting your game once to see if the error code persists. Many users report that the game client times out and shows the error code which can be fixed by restarting your game.
Solution 2: Restart Your Computer
Riot’s Vanguard anti-cheat process can be shut down by Windows, especially if you have less RAM on your computer, which can lead to the error code. If you run into Valorant Error Code 57, try restarting your computer.

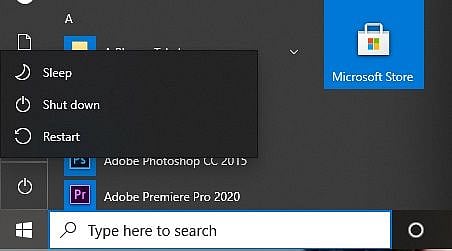
- Press the Windows key on your keyboard
- Click on the Power icon
- Click on Restart
Solution 3: Flush Your DNS

Your temporary network files may be causing issues which is why flushing your DNS can fix potential issues with how your internet is configured
- Press the Windows Key
- Type “Command Prompt” and hover on the first app result
- Click on Run As Administrator
- If asked whether to allow Command Prompt to make changes to your computer, select Yes.
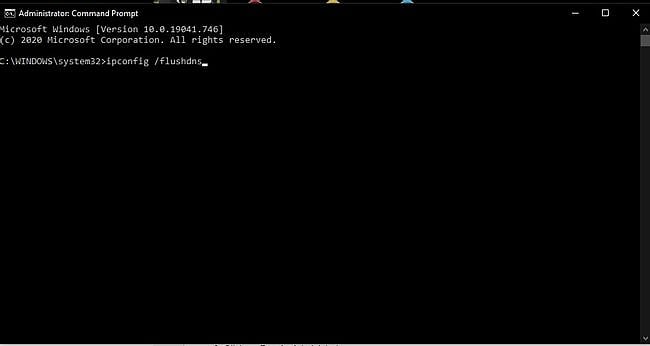
- You should now get a new window with a black screen.
- Type "ipconfig /flushdns" and press Enter.
- Type "ipconfig /registerdns" and press Enter.
- Type "ipconfig /release" and press Enter.
- Type "ipconfig /renew" and press Enter.
- Type "netsh winsock reset" and press Enter.
- Restart your computer
